萬盛學電腦網 >> 腳本專題 >> javascript >> 使用AngularJS實現表單向導的方法
使用AngularJS實現表單向導的方法
今天我們將使用AngularJs和偉大的UI Router以及Angular ngAnimate module創建一個帶動畫的多步表單。這項技術可以用在你想要簡化用戶操作的大表單上。
我們看到這項技術已經應用在了許多的網頁上。比如購物車,注冊表單,入職流程以及許多多步表單,讓用戶更容易在線填寫表單。
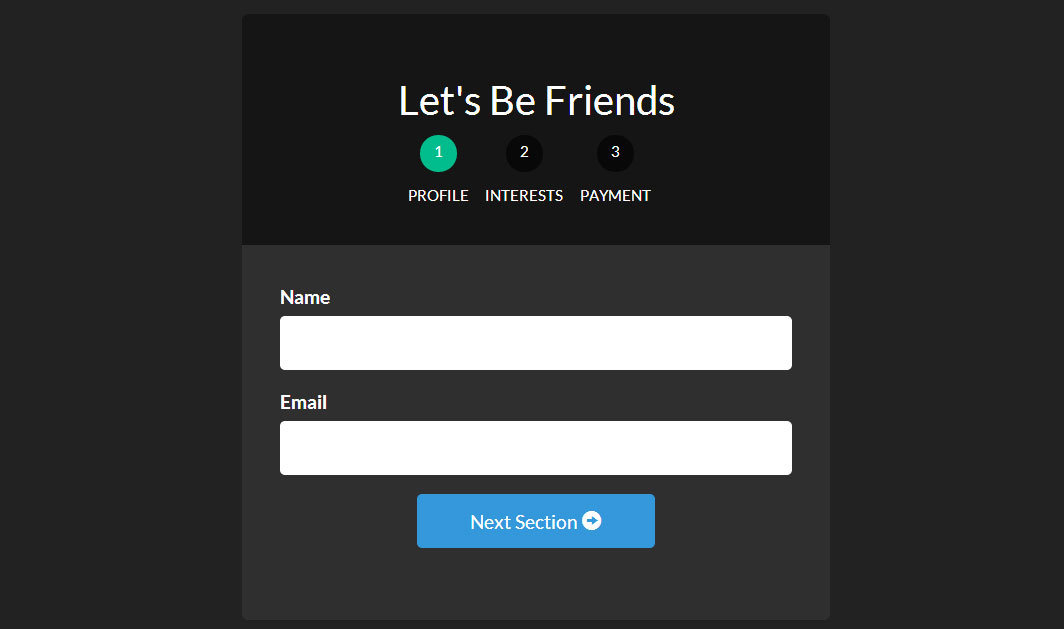
下面我們將構建它:

使用UI Router,它能內嵌狀態,為每個狀態顯示不同的view,我們能讓多步表單變得相當的容易。
讓我們言歸正傳,開始創建我們的最棒的表單!
創建工程
創建工程有個模板結構. 需要個 布局文件 , 每個表單的視圖文件, 格式文件, 以及JavaScript 文件.
下面就是文件清單,先創建好它們,接著在填充內容
- - index.html
- - form.html
- - form-profile.html
- - form-interests.html
- - form-payment.html
- - app.js
- - style.css
每個表單-____.html表示層級結構中的html文件. 這些結構最終創建我們的表單結構.
我們的布局/模板文件 index.html
我們通過建立一個主文件來引入我們所需要的所有資源以開始我們的項目 ,這裡我們使用 index.html 文件作為主文件
現在,我們加載我們所需的資源(AngularJS, ngAnimate, Ui Router, 以及其他腳本和樣式表)並且設定一個 ui-view用來告知 UI Router 我們的視圖需要顯示到哪裡。這裡我們使用 Bootstrap 來快速應用樣式。
完成所有文件的引入後,讓我們進入 app.js 開始創建Angular應用和最基本的路由配置。 注意我們是如何把Angular App (formApp) 應用到 body 上面的。
創建我們的Angular App app.js
現在我們來創建應用和路由。 在一個大型應用中, 你肯定希望把你的Angular應用、路由、控制器分布到它們各自的模塊中,但是為了完成我們的簡單用例,我們將把它們都放到app.js這個歡樂的大家庭中。
? 1 2 3 4 5 6 7 8 9 10 11 12 13 14 15 16 17 18 19 20 21 22 23 24 25 26 27 28 29 30 31 32 33 34 35 36 37 38 39 40 41 42 43 44 45 46 47 48 49 50 51 52 53 54 55 56 // app.js // create our angular app and inject ngAnimate and ui-router // ============================================================================= angular.module('formApp', ['ngAnimate', 'ui.router']) // configuring our routes // ============================================================================= .config(function($stateProvider, $urlRouterProvider) { $stateProvider // route to show our basic form (/form) .state('form', { url: '/form', templateUrl: 'form.html', controller: 'formController' }) // nested states // each of these sections will have their own view // url will be nested (/form/profile) .state('form.profile', { url: '/profile', templateUrl: 'form-profile.html' }) // url will be /form/interests .state('form.interests', { url: '/interests', templateUrl: 'form-interests.html' }) // url will be /form/payment .state('form.payment', { url: '/payment', templateUrl: 'form-payment.html' }); // catch all route // send users to the form page $urlRouterProvider.otherwise('/form/profile'); }) // our controller for the form // ============================================================================= .controller('formController', function($scope) { // we will store all of our form data in this object $scope.formData = {}; // function to process the form $scope.processForm = function() { alert('awesome!'); }; });
現在我們擁有了一個已經注入了ngAnimate和ui.router的應用。 我們同樣也建立了相應的路由。注意我們是如何為每一個視圖區域定義 url,視圖文件(templateUrl) 和 控制器的。
form 將是我們的主視圖區域。它同樣有一個以 . 分割的子視圖區域 form.profile。這種想法能實現在應用狀態發生變化時(譯者:可能是路由、queryString等),子視圖將會在主視圖區域中顯示出來。(譯者:而且可以作到僅更新子視圖區域變化,記錄子視圖區域狀態)。
我們將在下一節中進行演示。 現在我們需要為form以及它的子視圖區域創建視圖。
表單模板視圖 form.html
讓我們從新建form.html開始。這個文件將會在我們剩下的表單視圖文件中充當模板的作用,正如index.html被用作整個項目的總體模板一樣。我們所要作的是在該文件


