萬盛學電腦網 >> 圖文處理 >> Photoshop教程 >> ps入門教程 >> PS打造繁星點點的夜空效果圖
PS打造繁星點點的夜空效果圖
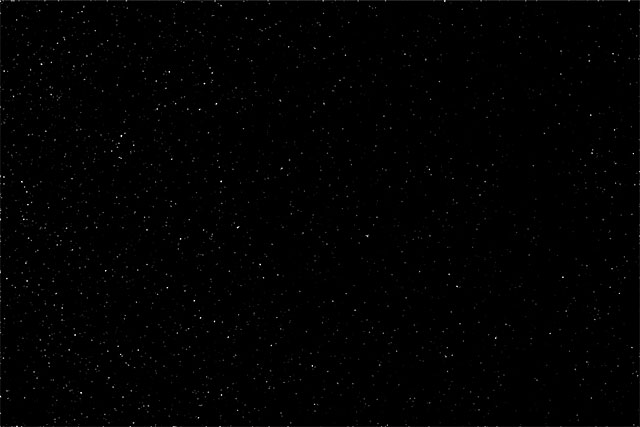
原圖:

最終效果:

開始吧!
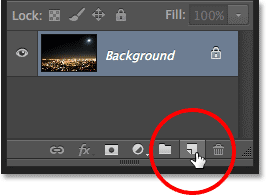
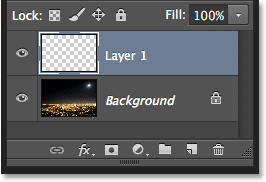
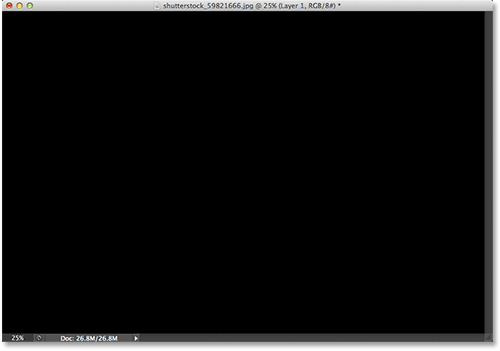
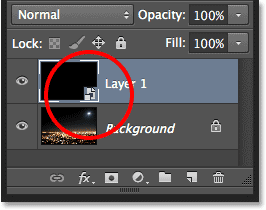
1、新建空白圖層

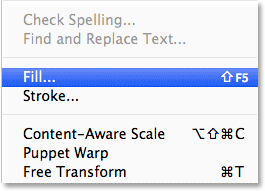
2、填充黑色(編輯→填充)
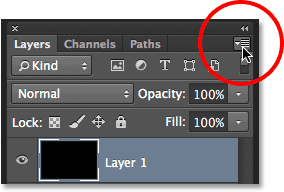
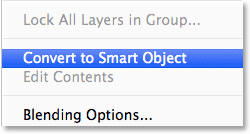
3、轉換為智能對象
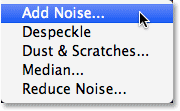
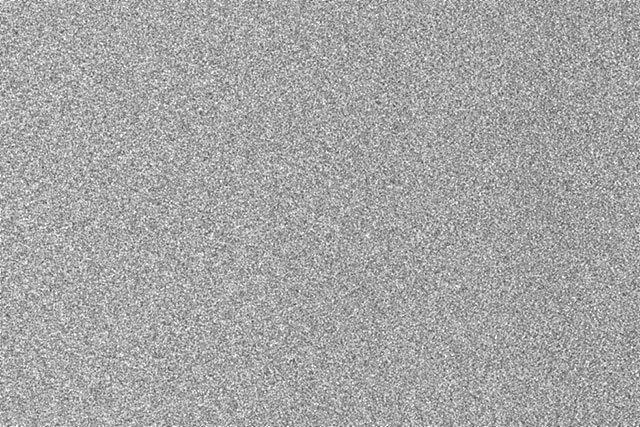
4、添加雜色(濾鏡→雜色→添加雜色)
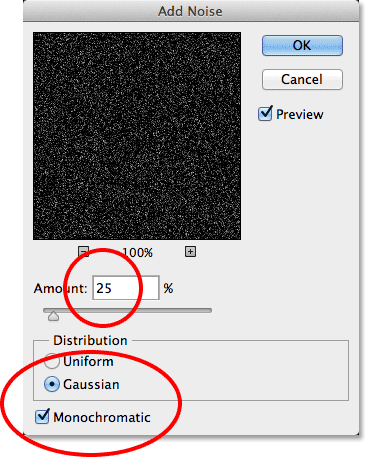
效果如下:

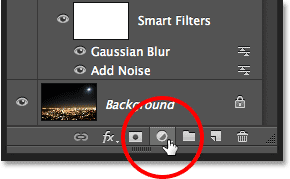
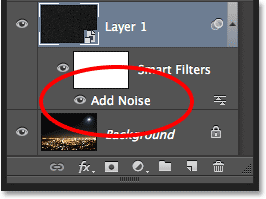
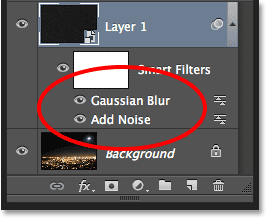
此時圖層面板顯示如下:
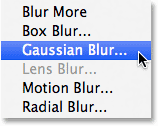
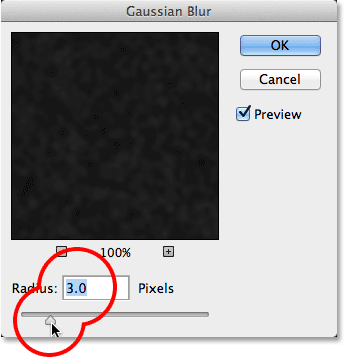
5、使用高斯模糊(濾鏡→模糊→高斯模糊)
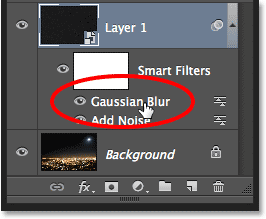
此時圖層面板顯示為:
如果你想再次修改模糊效果,可雙擊該高斯模糊文字打開設置窗口(調整時2-6之間的數據都可以試試。具體效果結合後面的步驟來調整):
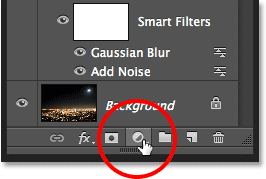
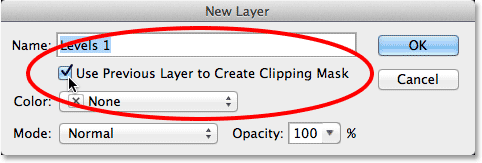
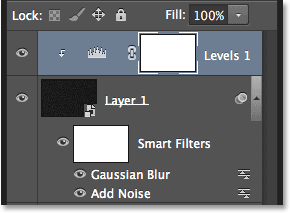
6、新建色階調整圖層
按下Alt (Win) / Option (Mac)鍵點擊圖層面板裡面的新建調整圖層按鈕,在彈出的窗口中勾選“使用前層創建剪切蒙版”選項:
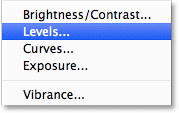
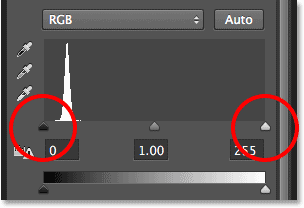
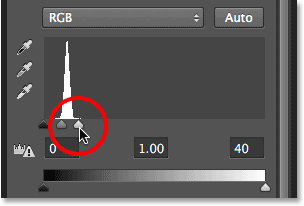
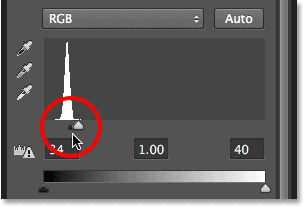
7、色階調整
右邊數據設為40,左邊24。實際數據按照你自己的效果來哈。
8、新建色相/飽和度調整圖層
和上面的方法一樣,記住按下 Alt (Win) / Option (Mac) 鍵。