萬盛學電腦網 >> 圖文處理 >> Photoshop教程 >> ps入門教程 >> PS制作黑暗力量中的超現實場景
PS制作黑暗力量中的超現實場景
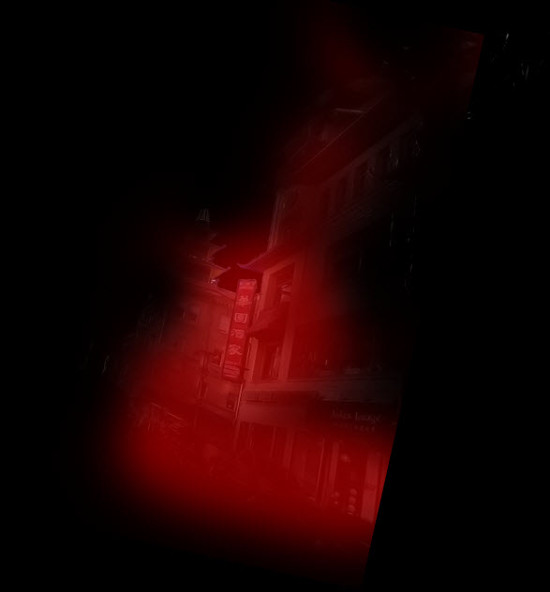
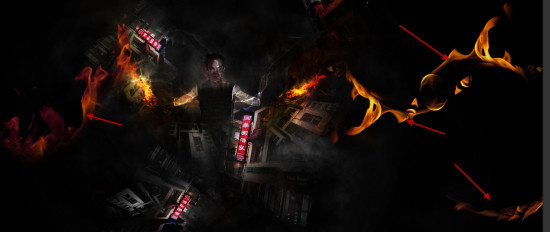
最終效果:

Step 1
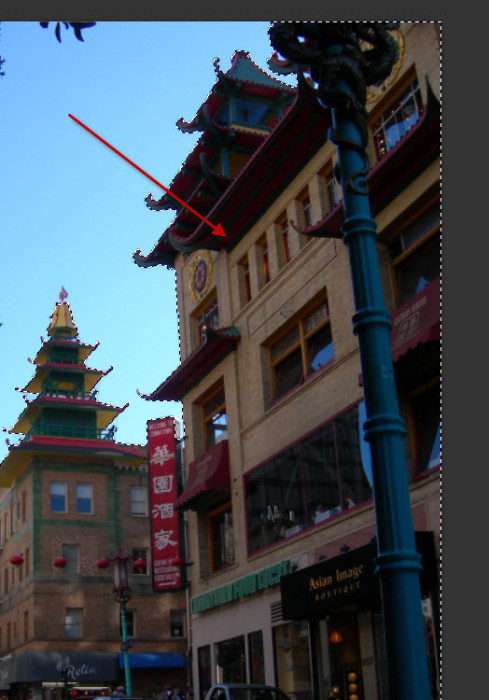
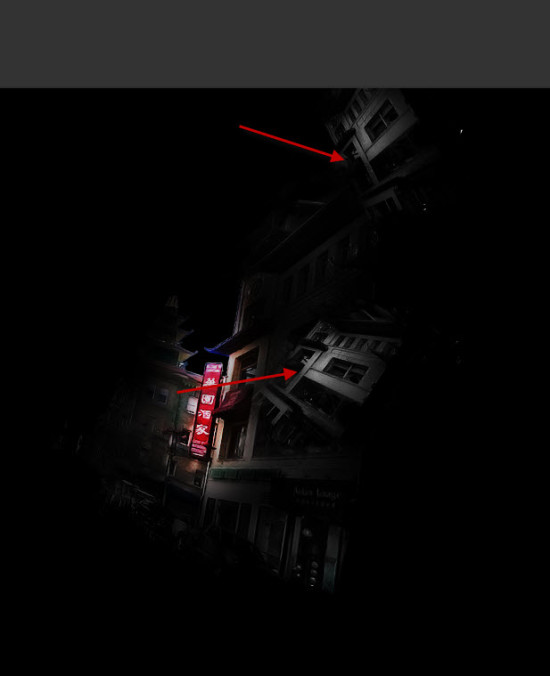
創建一個新文件,大小為1400*704px,背景為黑色。打開city image,選擇部分建築,如下:
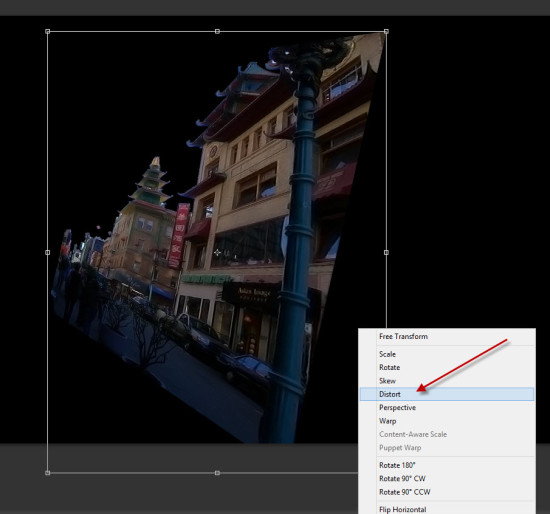
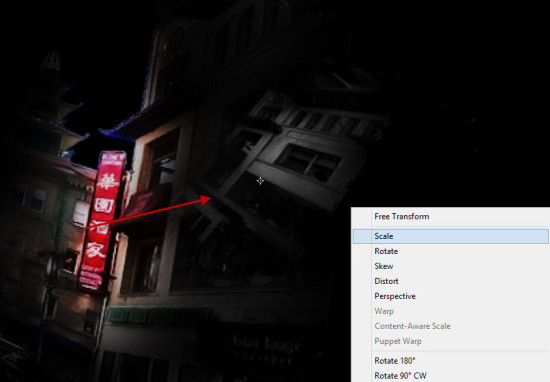
將這部分復制粘貼到主文件,使用自由變換工具將它變歪,如下。
用一個比較柔和的橡皮擦擦去樓房的某些部分:
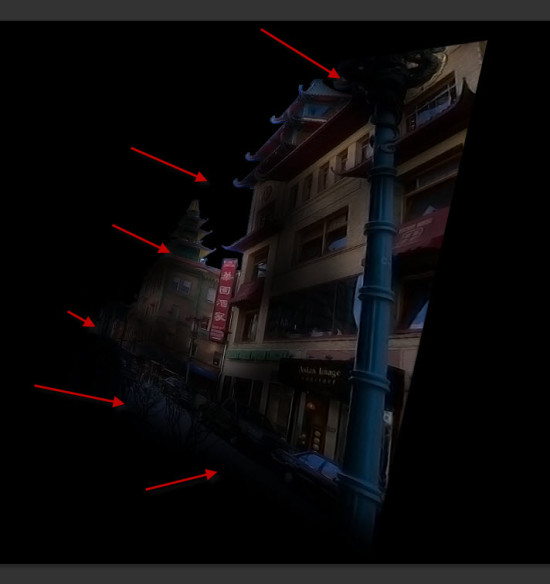
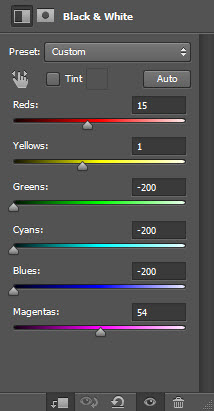
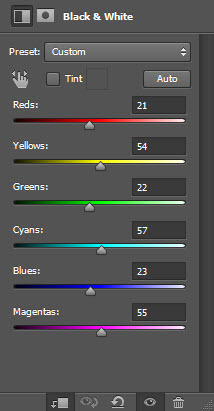
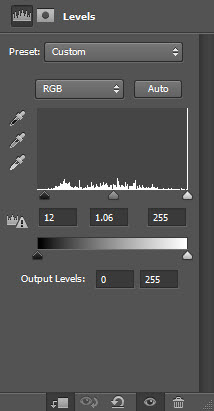
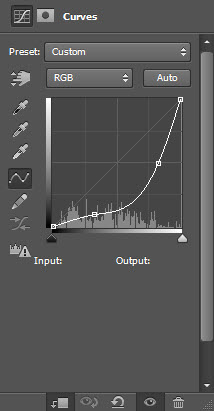
添加剪切蒙板,然後按如下設置調整圖層:
黑&白
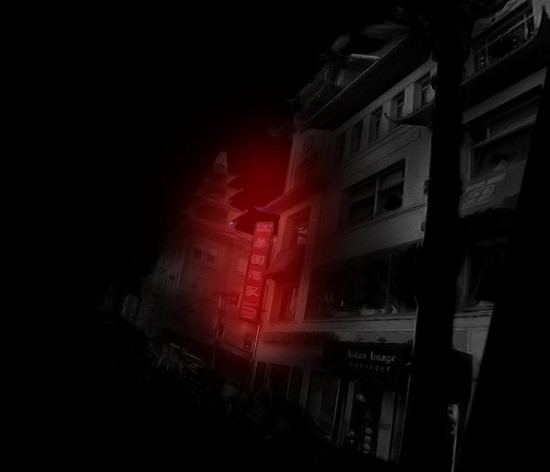
在黑白調整圖層中的圖層蒙版
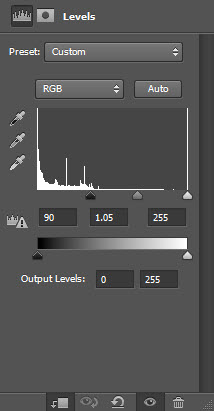
色階
色階調整圖層的蒙版:
曲線:
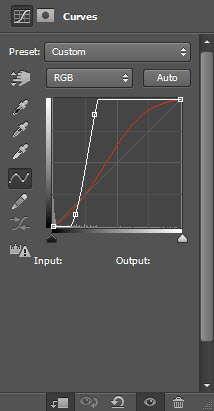
曲線調整圖層的蒙版:
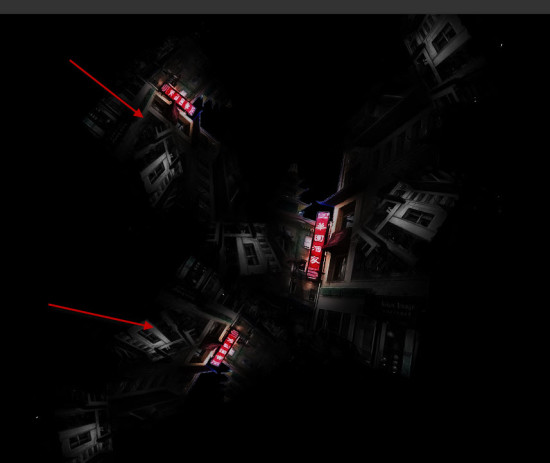
將這三個調整圖層合並,復制粘貼合並圖層,並將其放在合並圖層下方,然後用自由變換工具調整其大小和方向:
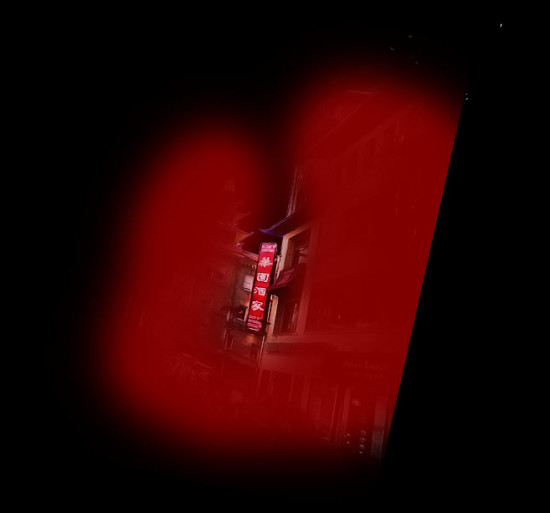
重復上述步驟,多做幾個“鬼屋”,放置位置如下:
Step 2
在這個步驟中,我們將加入男豬腳!這位演技可睥睨湯姆克魯斯的兄弟,你准備好了嗎?首先置入男豬腳,放置位置如下:
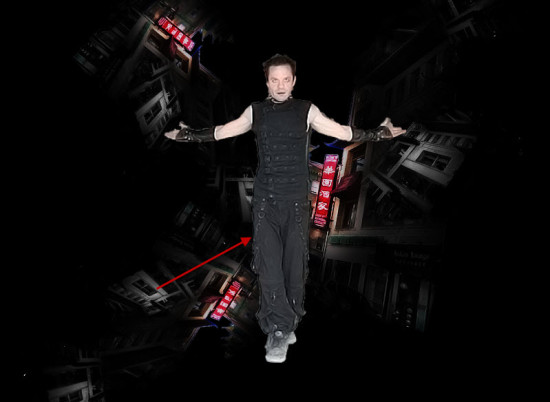
使用橡皮擦工具給帥哥擦擦臉、身子什麼的:
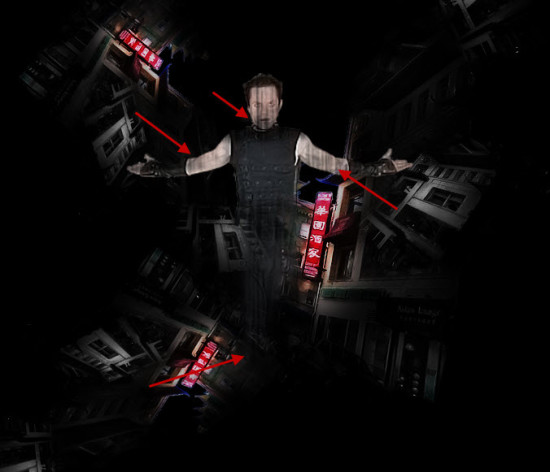
添加剪切蒙版,調整圖層設置如下:
黑&白
色階
曲線
效果:
Step 3
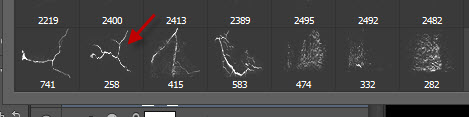
在這一步,我們將添加一些其他的效果。首先新建一個圖層,這個圖層要在所有圖層的上面,將其圖層模式設置為“疊加”。然後置入crack筆刷(素材中的最後一個),選擇下面這個:
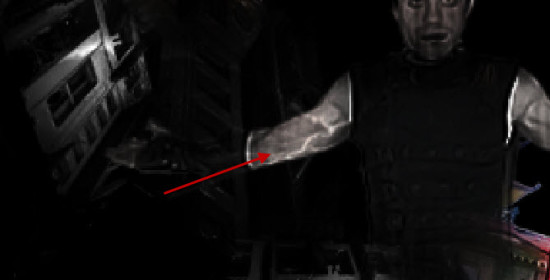
將筆刷的顏色設置為白色,在帥哥身上畫幾筆,如下:
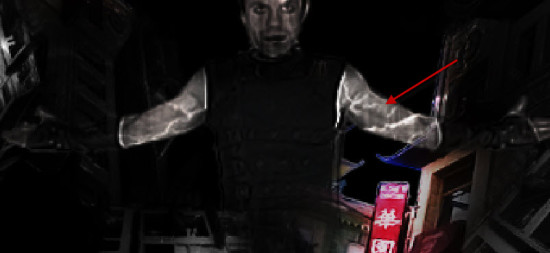
繼續畫,可以換種畫筆:
打開火焰這張圖(素材中的第三張),用快速選擇工具選出主體部分:
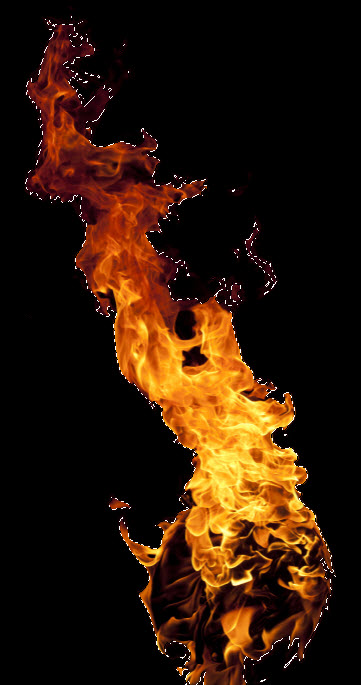
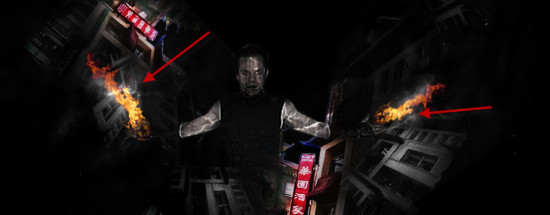
復制火焰然後粘貼到主文件,用自由變換工具將其縮小,然後左右兩邊各放一個,位置如下:
Step 4
這一步中我們將添加一些額外的火焰效果。復制上一步中的火焰,放到主文件,這一次不用縮小,用橡皮擦去掉遮擋帥哥的那部分:
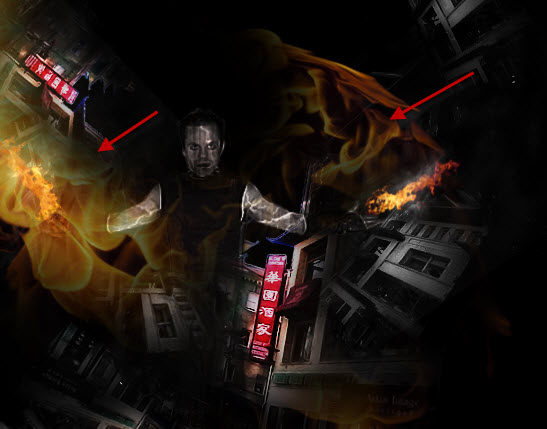
將圖層模式設置為“疊加”,效果如下:
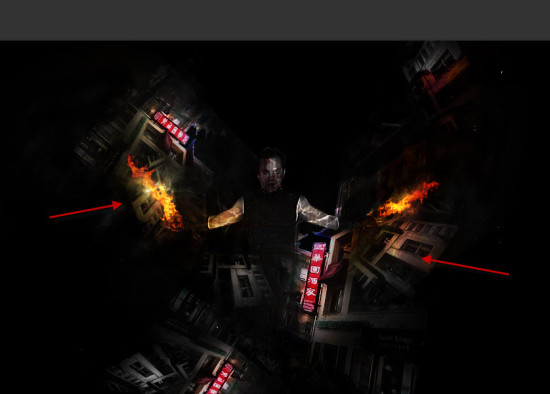
添加濾鏡中的雲/煙效果:
Step 5
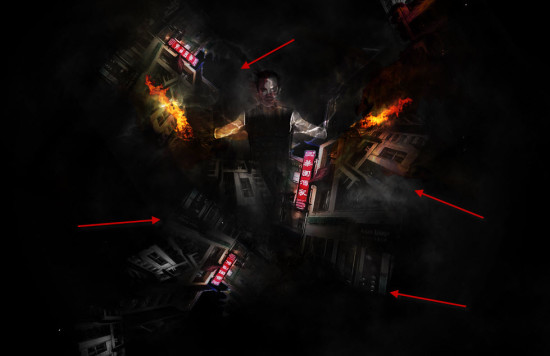
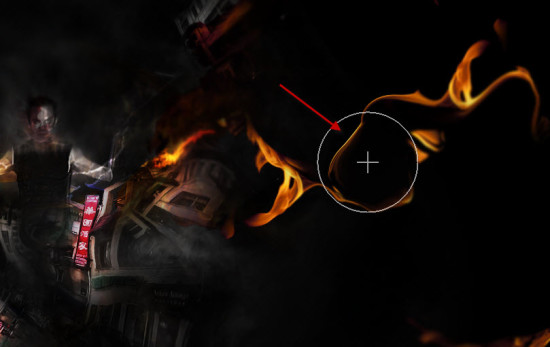
繼續添加火焰,充滿整個圖像。
你可以使用液化濾鏡對火焰進行調整:
Step 6
最後一步咯~復制背景圖層,使用液化濾鏡拉扯圖片的邊緣,如下:
- 上一頁:15招PHOTOSHOPCC功能手冊
- 下一頁:變焦制造宇宙大爆炸