萬盛學電腦網 >> 圖文處理 >> Photoshop教程 >> ps圖片處理 >> PS教你給圖像加上逼真的藍天效果
PS教你給圖像加上逼真的藍天效果
先說一下,教程不是幫你從無到有創造天空(這樣的難度有點大),而是讓淡白色的天空變藍噢。
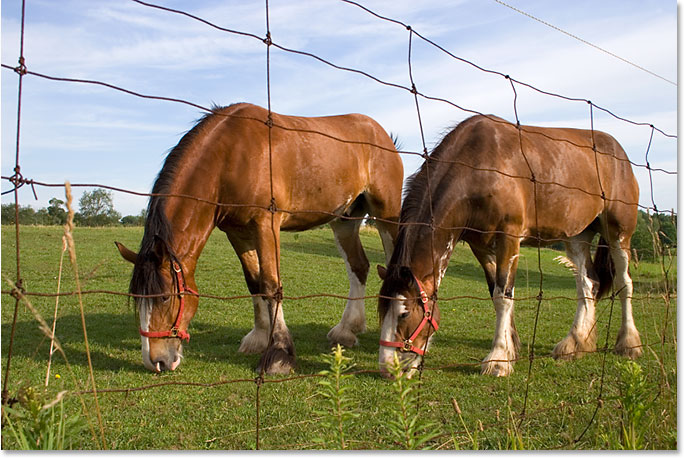
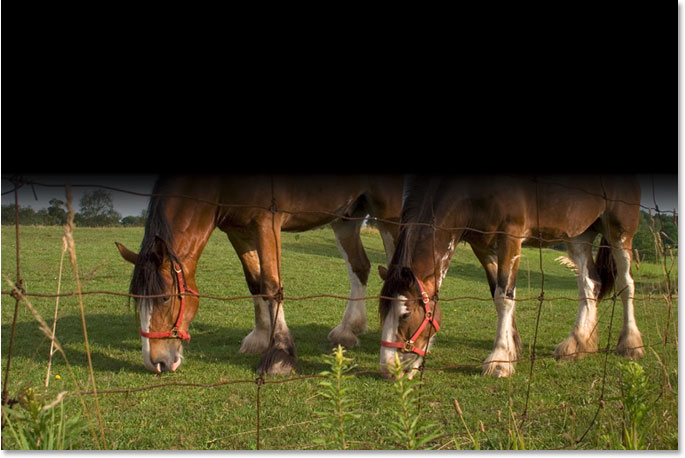
原圖效果:
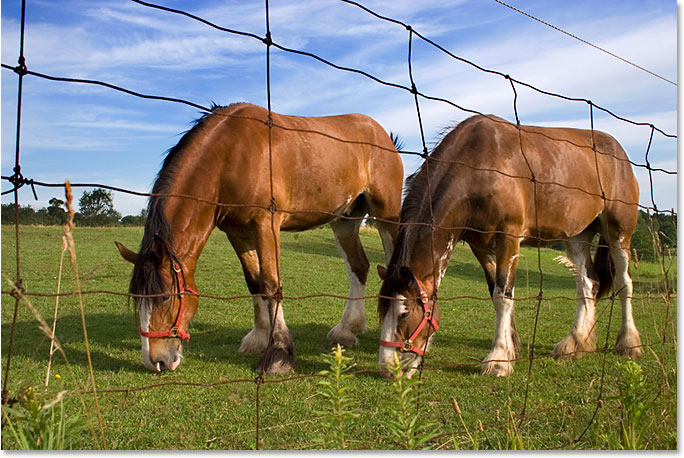
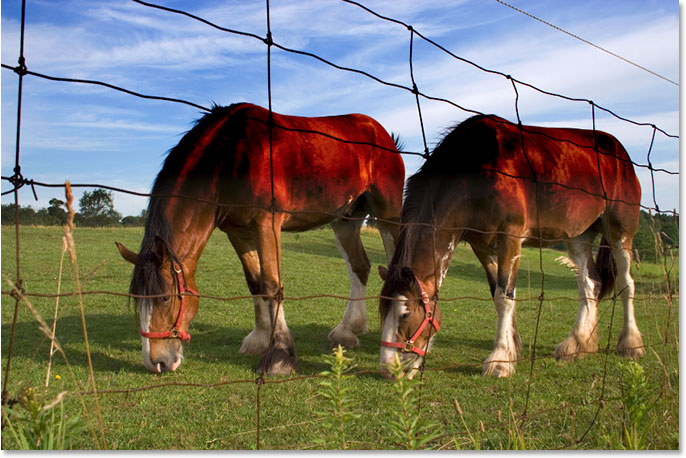
最終效果:
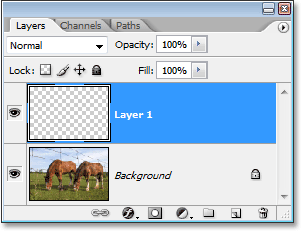
Step 1
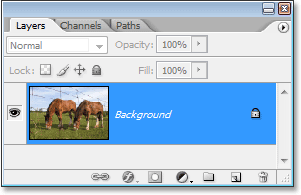
導入圖片,新建圖層。
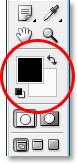
Step 2
為了等下我們的教程同步,按D重置背景色。
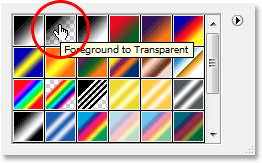
Step 3
選擇漸變工具(G),顏色如下(黑色到透明)

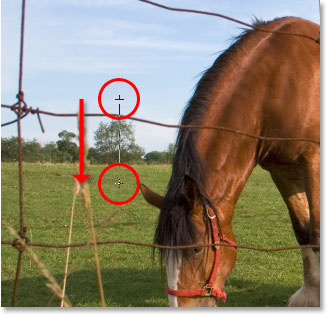
Step 4
摁住Shift 鍵,從上往下拖動:
效果如下:
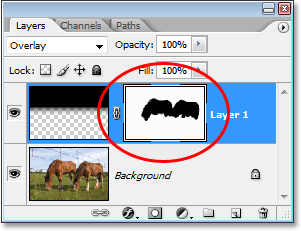
Step 5
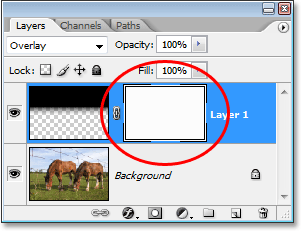
圖層模式改為疊加。
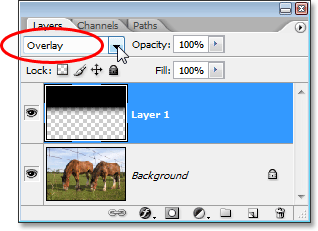
淡白色的天空與黑色疊加後,飽和度立刻就上來了,效果如下:
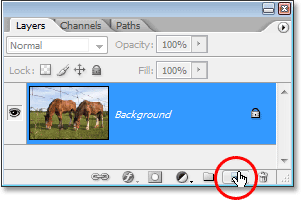
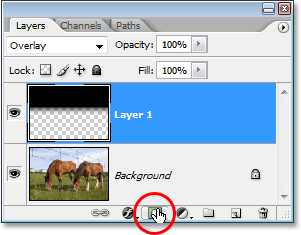
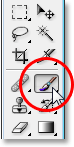
Step 7: Add A Layer Mask To “Layer 1″
添加蒙版。
選擇筆刷工具。
將前景色改為黑色。
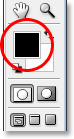
使用柔軟的筆刷,塗抹需要隱藏的部分。
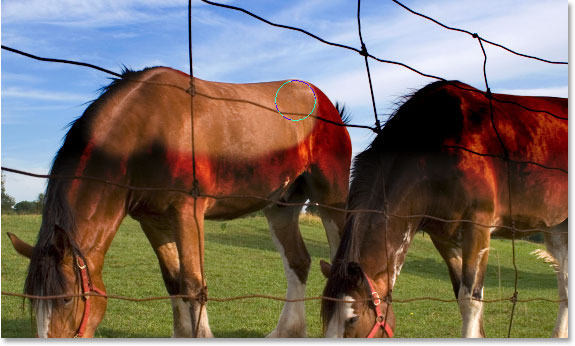
效果大致如下:
搞定收工!

ps圖片處理排行
軟件知識推薦
相關文章


copyright © 萬盛學電腦網 all rights reserved