萬盛學電腦網 >> 圖文處理 >> Photoshop教程 >> ps文字教程 >> PS創建夢幻的霓虹效果文字
PS創建夢幻的霓虹效果文字
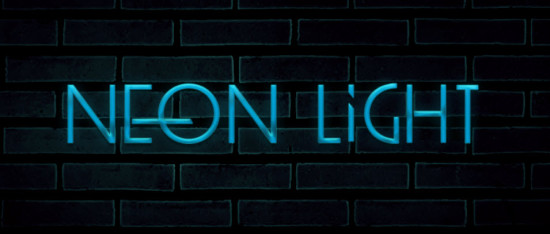
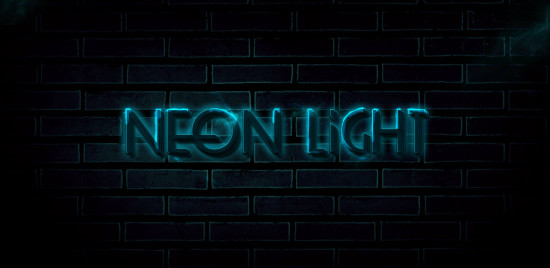
最終效果:

Step 1
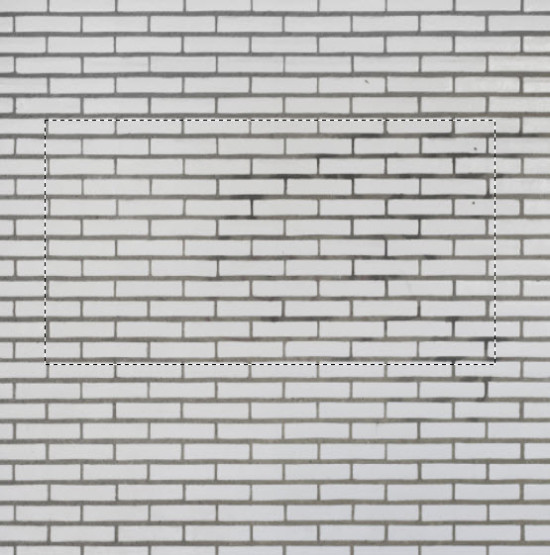
新建畫布1400px * 782px,填充黑色,打開紋理素材,用矩形選框工具選出一部分紋理放到原始的文檔中來,調整大小作為背景,高斯模糊之。
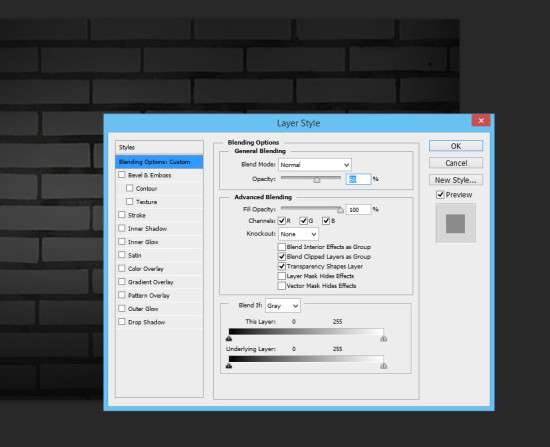
設置圖層的不透明度為60%:
使用如下圖所示的蒙版圖層來遮掉部分內容:

使用如下的色彩平衡調整圖層來為紋理圖層添加一些色彩:


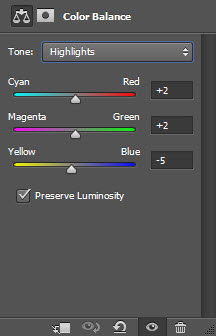
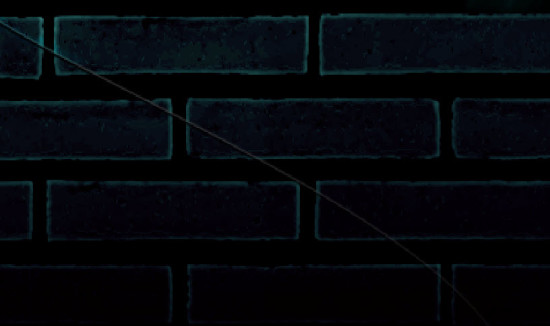
經過以上兩個調整,你應該在畫布中看到如下效果:

Step 2
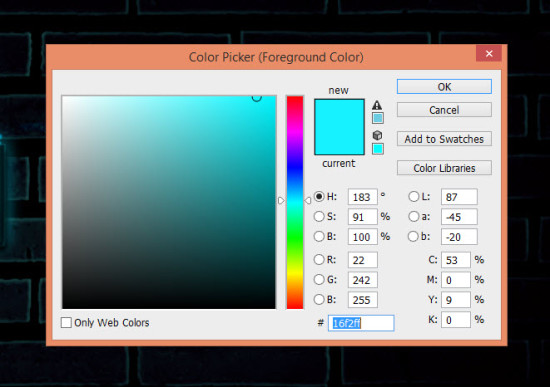
現在使用本文開頭下載過來的字體寫入一串文本,顏色如下圖黃色便簽裡面所示:
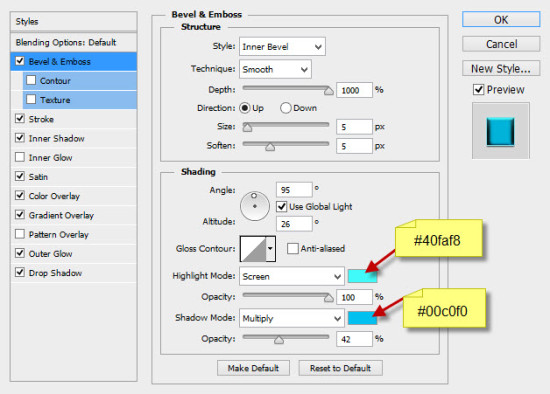
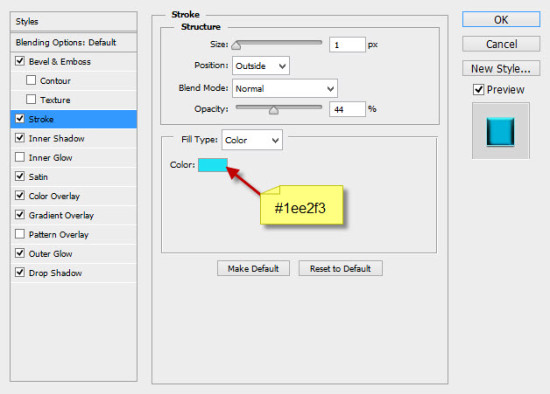
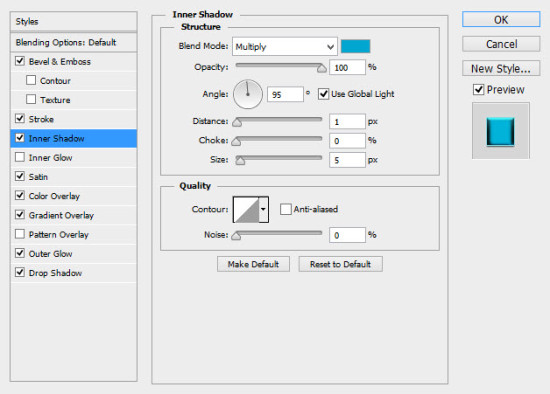
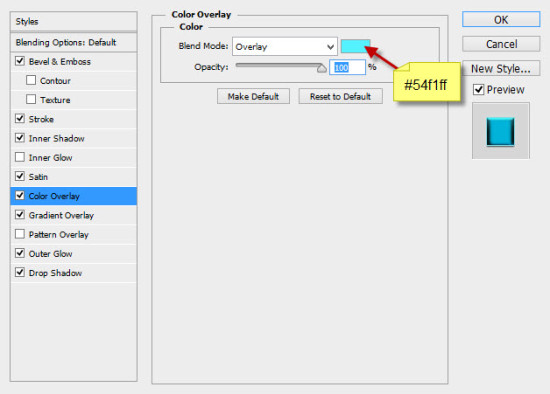
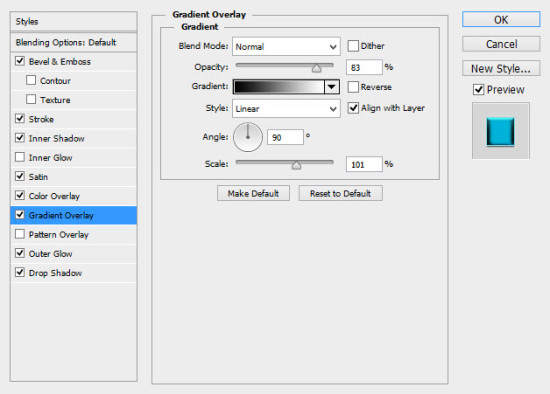
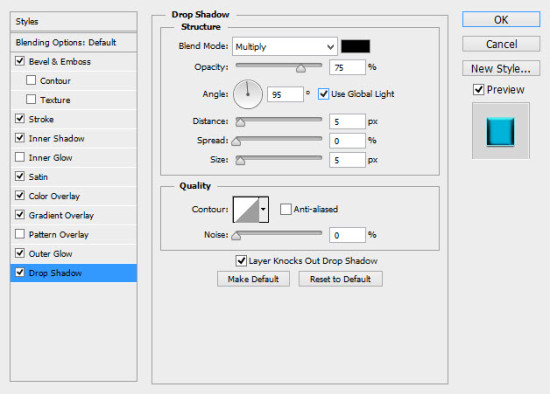
給文本添加如下混合樣式:
斜面和浮雕:
描邊:
內陰影:
光澤:

顏色疊加:
漸變疊加:
外發光:

投影:
效果如下:
Step 3
復制一層該文本,按照圖示將復制層輕微移動到邊角處:
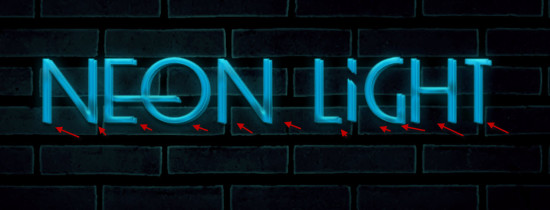
重復以上復制移動的步驟,多復制幾層,直到效果如下:
在復制的最後一個圖層上應用如下色相/飽和度調整選項同時把文本變暗:
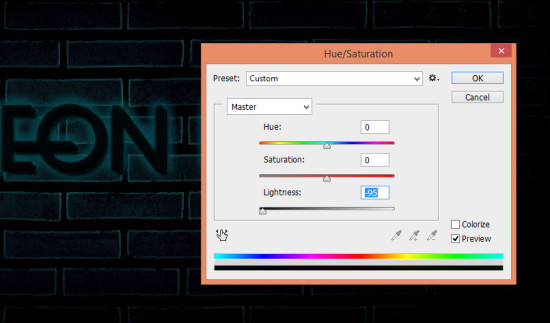
效果如下:

Step 4
現在需要給文本添加一定的高光。選擇畫筆工具,設置如下:
大小和硬度:
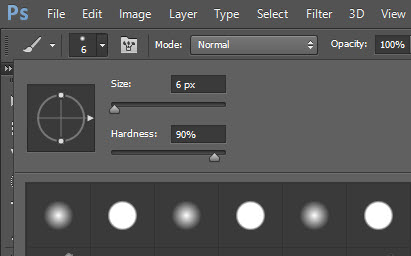
畫筆的顏色:
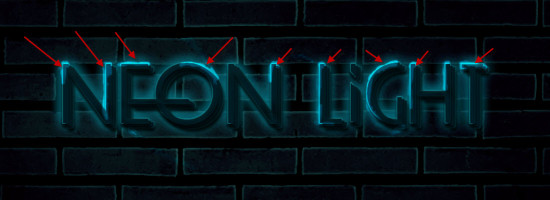
在所有圖層的上方新建圖層,疊加模式設置為”疊加(overlay)”,使用設置好的畫筆按照下圖添加高光部分:
我們還可以使用煙霧筆刷為文本添加一點煙霧效果:
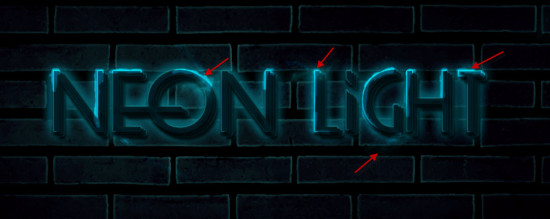
最終效果如下:
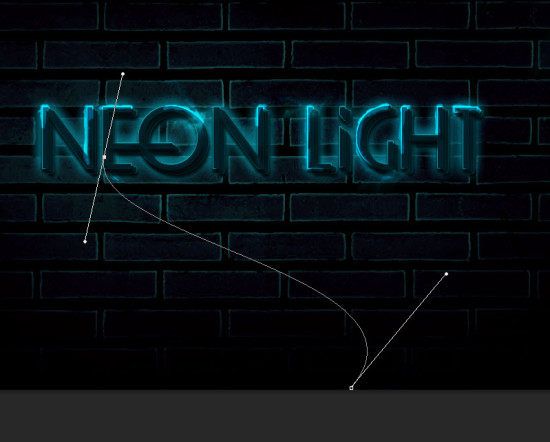
Step 5
現在要添加一些電線。使用鋼筆工具勾勒如下路徑:
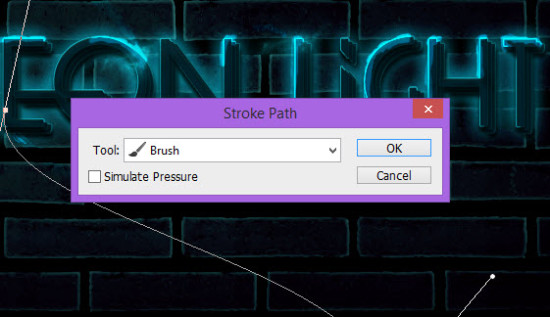
使用5 px硬邊的畫筆為路徑做描邊處理:
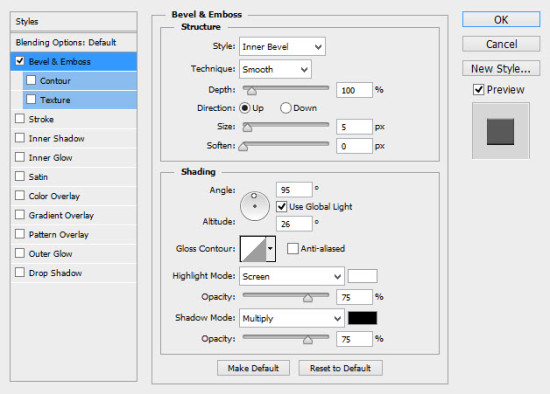
做如下斜面和浮雕混合樣式的調整:
電線的效果:
為了實現電線纏繞著文本的狀態,需要復制該電線多次,然後按照下圖做一個位置和大小的調整:
- 上一頁:Photoshop文字設計精髓技巧
- 下一頁:PS打造餅干文字特效


