萬盛學電腦網 >> 圖文處理 >> Photoshop教程 >> ps入門教程 >> PS教你打造酷炫的人物特效
PS教你打造酷炫的人物特效
注意:本教程基於PS CS6,因此一些截圖與之前的版本略有不同,個別筆刷也僅供CS6版本使用。
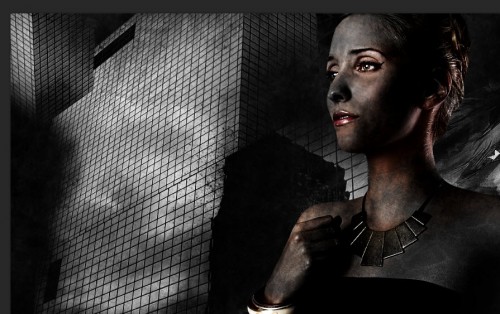
最終效果:

教程所需素材下載:
Model by ~tigersgirl
Flag
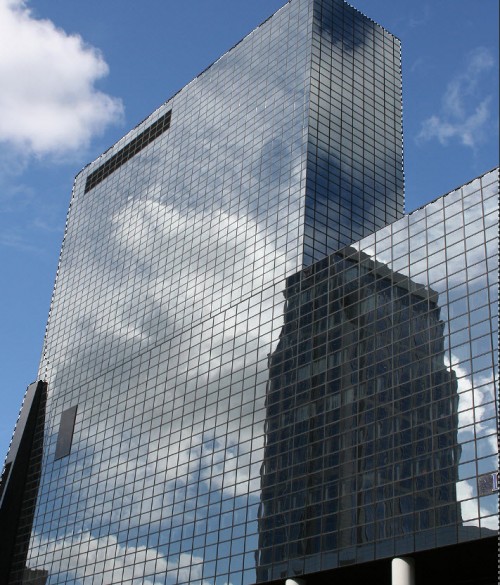
City Building
Grunge Brush
Cloud Brush
Step 1
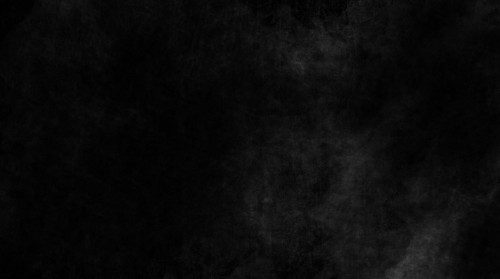
新建一個文件,大小為1290*700像素,背景為黑色。再新建一個圖層,用grunge筆刷(素材中的第四個)隨意的在背景中畫幾筆。
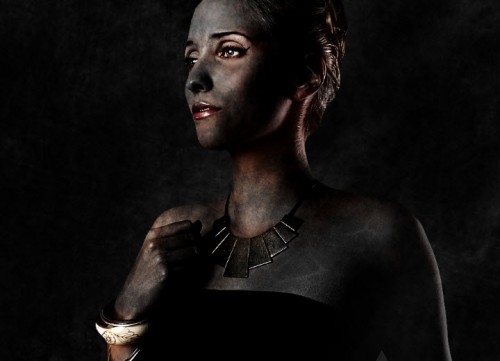
在PS中打開美女的照片(素材中的第一個),用快速選擇工具選出美女,如下:
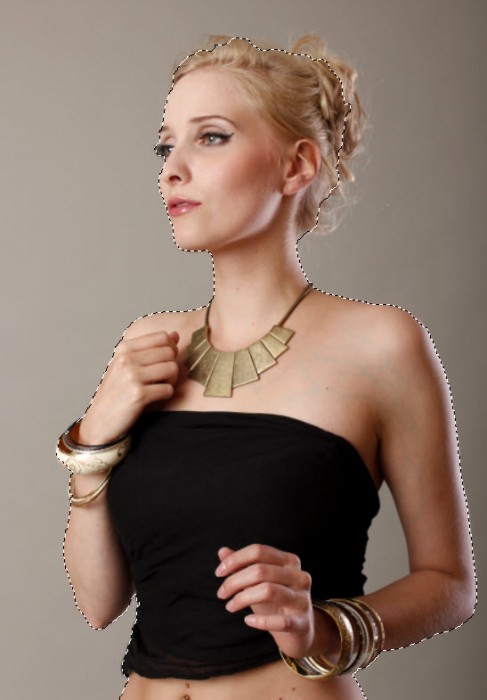
將其復制粘貼到我們的文件中,用自由變換工具調整其大小。
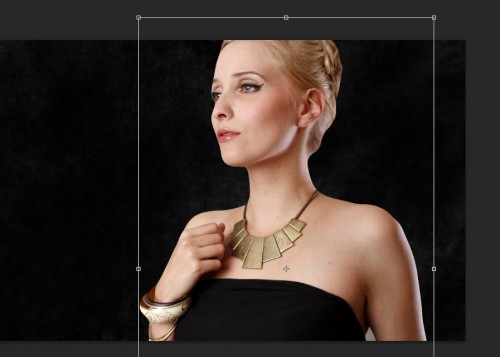
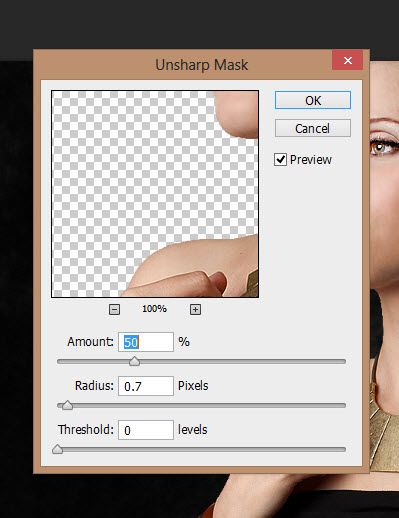
我們希望這個模特輪廓更鮮明一些,打開濾鏡>銳化>USM銳化,設置數據如下:
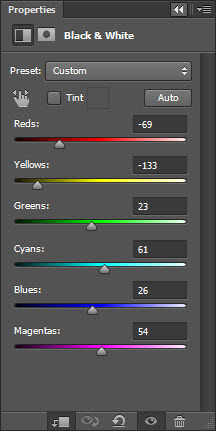
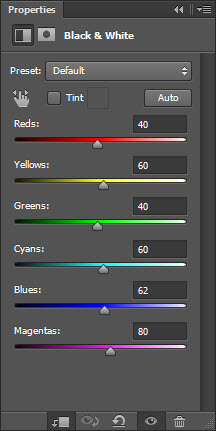
對美女這一圖層添加剪切蒙版,然後設置如下:
黑&白
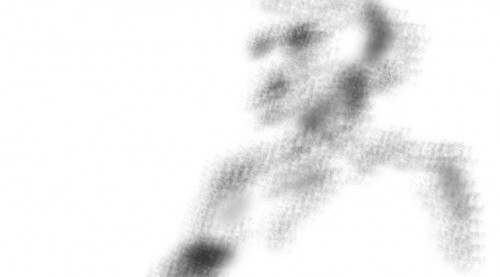
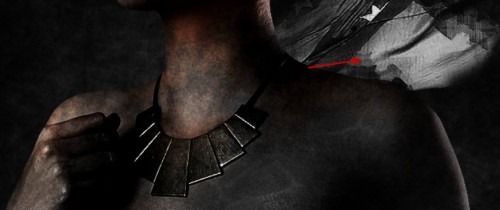
這一調整圖層的蒙版效果如下:
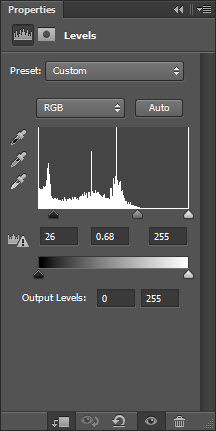
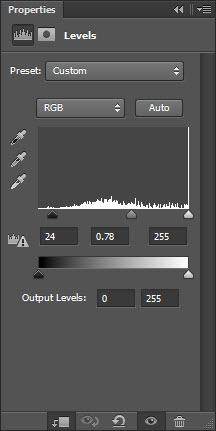
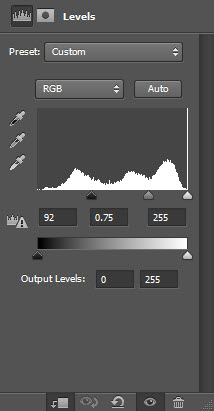
色階
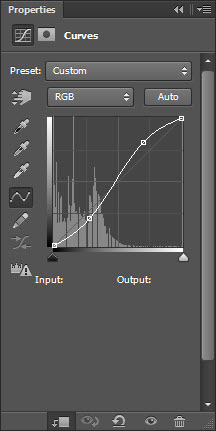
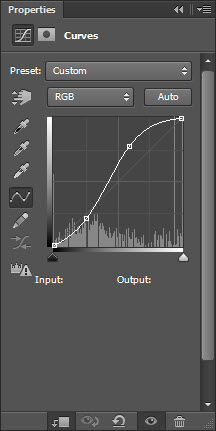
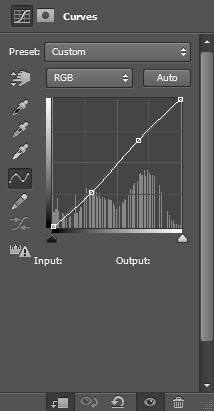
曲線
最終效果如下所示,這一步中的一系列調整對這個髒兮兮的效果起到了決定性的作用。
Step 2
為了說明這位異國美女的身份,我們特意找來了大不列顛帝國的國旗(素材中的第二個)。
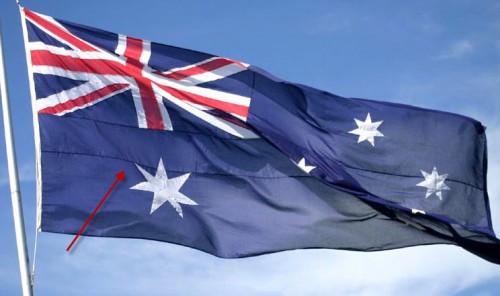
將這個國旗復制粘貼到我們的文件中,放在美女這個圖層下面,然後用grunge筆刷擦一下。
對國旗這個圖層添加剪切蒙版,設置如下:
黑&白
色階
曲線
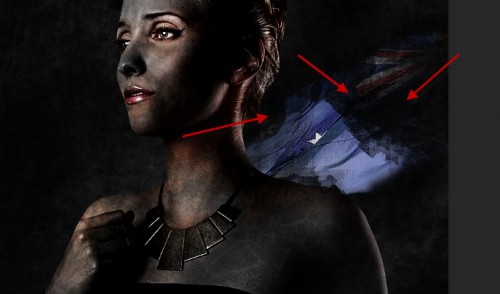
效果:
一個國旗感覺太少太單調,我們決定多弄幾個。復制國旗粘貼兩次,放置位置如下,這樣國旗看起來才有迎風飄揚的趕腳。

Step 3
生化危機中怎麼能缺少摩天大樓呢,打開大樓(素材中的第三個),扣出大樓主體,如下:
將其復制粘貼到我們的文件中,放在模特和國旗中間,調整它的大小。
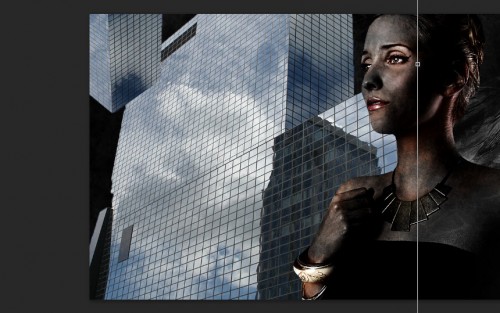
為了讓整體看起來更加奇幻、緊蹙,你還可以將大樓再粘貼一次,並將其倒轉,放置位置如下:

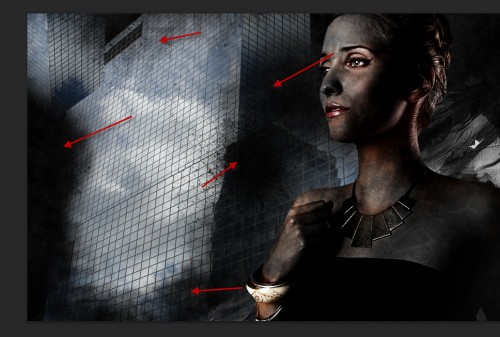
用grunge筆刷將大樓擦黑一些。
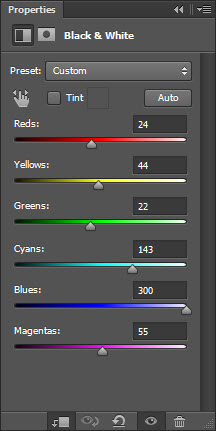
對大樓圖層添加剪切蒙版,調整如下:
黑&白
色階
曲線
效果:
Step 4
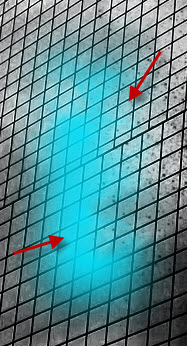
現在我們要打造超現實光感效果,點擊矩形選框工具,羽化值為20像素。
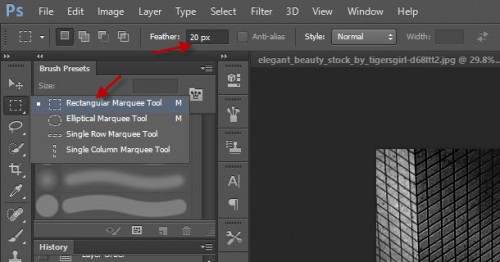
隨便選擇一塊,顏色如下:

將雲筆刷(素材中的最後一個)置入PS,選一個你喜歡的。
用雲筆刷擦選框的邊緣。