萬盛學電腦網

 萬盛學電腦網 >> 圖文處理 >> Adobe Illustrator教程 >> IA關於封套扭曲命令的實例使用教程

IA關於封套扭曲命令的實例使用教程

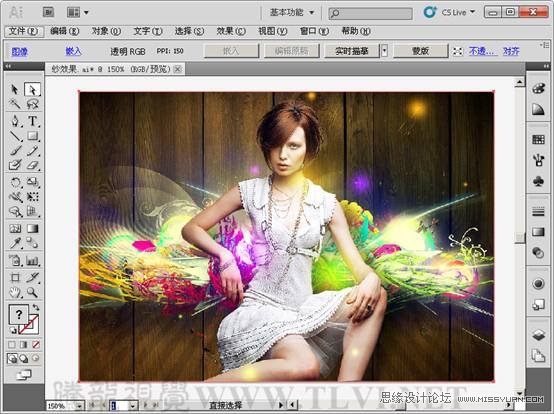
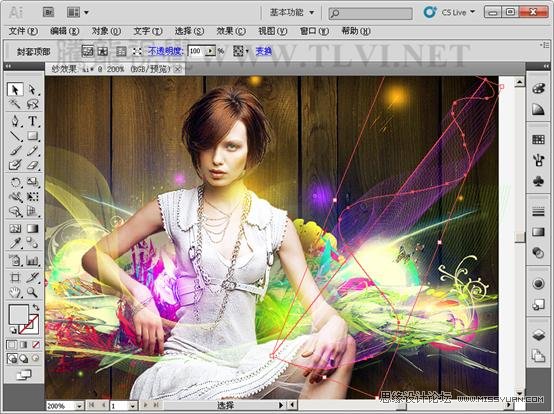
  前面我們應用封套扭曲來制作過折頁宣傳頁,在本節內容中,我們繼續使用封套命令,來制作虛無缥缈的沙效果。為了更加便於朋友們理解這個命令的應用原理,我精心的為朋友們安排了實例,下面一起來學習吧

IA關於封套扭曲命令的實例使用教程 三聯

  (1)執行“文件”→“打開”命令,將素材“沙效果.tif”文件打開。

Illustrator軟件關於封套扭曲命令的實例使用教程

  (2)為了便於觀察效果,首先繪制棕色矩形並鎖定。

Illustrator軟件關於封套扭曲命令的實例使用教程

  (3)使用“直線段”工具,繪制直線形狀。

Illustrator軟件關於封套扭曲命令的實例使用教程

  (4)水平復制直線段並更改顏色。

Illustrator軟件關於封套扭曲命令的實例使用教程

  (5)同時選擇兩條直線段,更改其混合模式。

Illustrator軟件關於封套扭曲命令的實例使用教程

  (6)執行“對象”→“混合”→“建立”命令,創建混合對象。
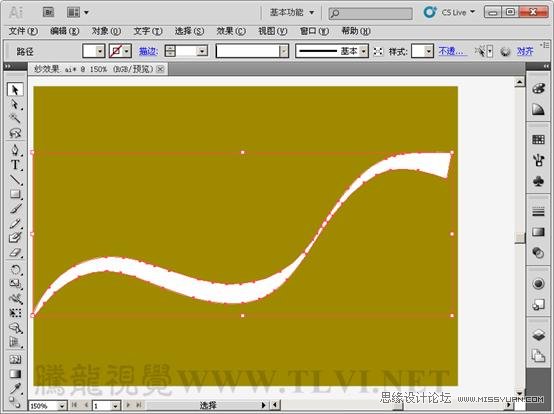
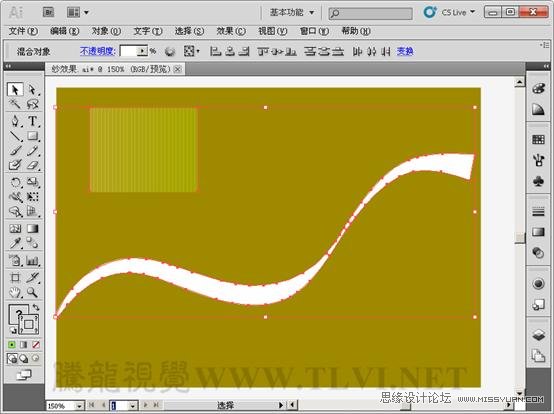
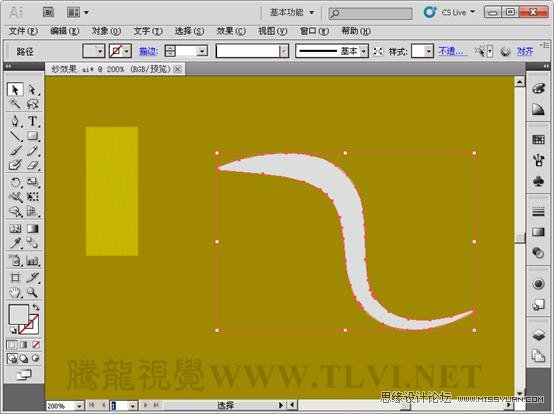
Illustrator軟件關於封套扭曲命令的實例使用教程

  (7)使用“鋼筆”工具繪制形狀。

Illustrator軟件關於封套扭曲命令的實例使用教程

  (8)使用“寬度”工具,加寬圖形。

Illustrator軟件關於封套扭曲命令的實例使用教程

  (9)使用“寬度”工具,縮窄第三上節點處的圖形。

Illustrator軟件關於封套扭曲命令的實例使用教程

  (10)添加節點並加寬圖形。

Illustrator軟件關於封套扭曲命令的實例使用教程

  (11)執行“對象”→“擴展外觀”命令,擴展對象。

Illustrator軟件關於封套扭曲命令的實例使用教程

  (12)選擇圖形,執行“對象”→“封套扭曲”→“用頂層對象建立”命令,建立封套扭曲。

Illustrator軟件關於封套扭曲命令的實例使用教程

  (13)執行“對象”→“封套扭曲”→“封套選項”命令,打開其對話框。

Illustrator軟件關於封套扭曲命令的實例使用教程

  (14)將制作好的圖形,移動至畫面中相應的位置。

Illustrator軟件關於封套扭曲命令的實例使用教程

  (15)接下來再來講述一種沙效果的制作,首先繪制一條直線段。

Illustrator軟件關於封套扭曲命令的實例使用教程

  (16)執行“對象”→“變換”→“移動”命令,打開其對話框。

Illustrator軟件關於封套扭曲命令的實例使用教程

  (17)快速復制多條直線段。

Illustrator軟件關於封套扭曲命令的實例使用教程

  (18)全選直線段並群組。

Illustrator軟件關於封套扭曲命令的實例使用教程

  (19)使用“鋼筆”工具,繪制路徑。

Illustrator軟件關於封套扭曲命令的實例使用教程

  (20)參照以上加寬的操作方法,對路徑進行變形。

Illustrator軟件關於封套扭曲命令的實例使用教程

  (21)執行“對象”→“擴展外觀”命令,擴展對象。

Illustrator軟件關於封套扭曲命令的實例使用教程

  (22)選擇對象,執行“對象”→“封套扭曲”→“使用頂層建立”命令,創建封套。

Illustrator軟件關於封套扭曲命令的實例使用教程

  (23)執行“對象”→“封套扭曲”→“封套選項”命令,打開其對話框。

Illustrator軟件關於封套扭曲命令的實例使用教程

  (24)將制作好的沙效果移至畫面中相應的位置。

Illustrator軟件關於封套扭曲命令的實例使用教程

  (25)參照以上方法,再制作出其他的沙效果。

Illustrator軟件關於封套扭曲命令的實例使用教程

  (26)至此完成本教程的講述。

Illustrator軟件關於封套扭曲命令的實例使用教程
copyright © 萬盛學電腦網 all rights reserved